Ricatech TAB07 Instrukcja Użytkownika
Przeglądaj online lub pobierz Instrukcja Użytkownika dla Tablety Ricatech TAB07. Ricatech TAB07 User manual Instrukcja obsługi
- Strona / 57
- Spis treści
- BOOKMARKI
- 1
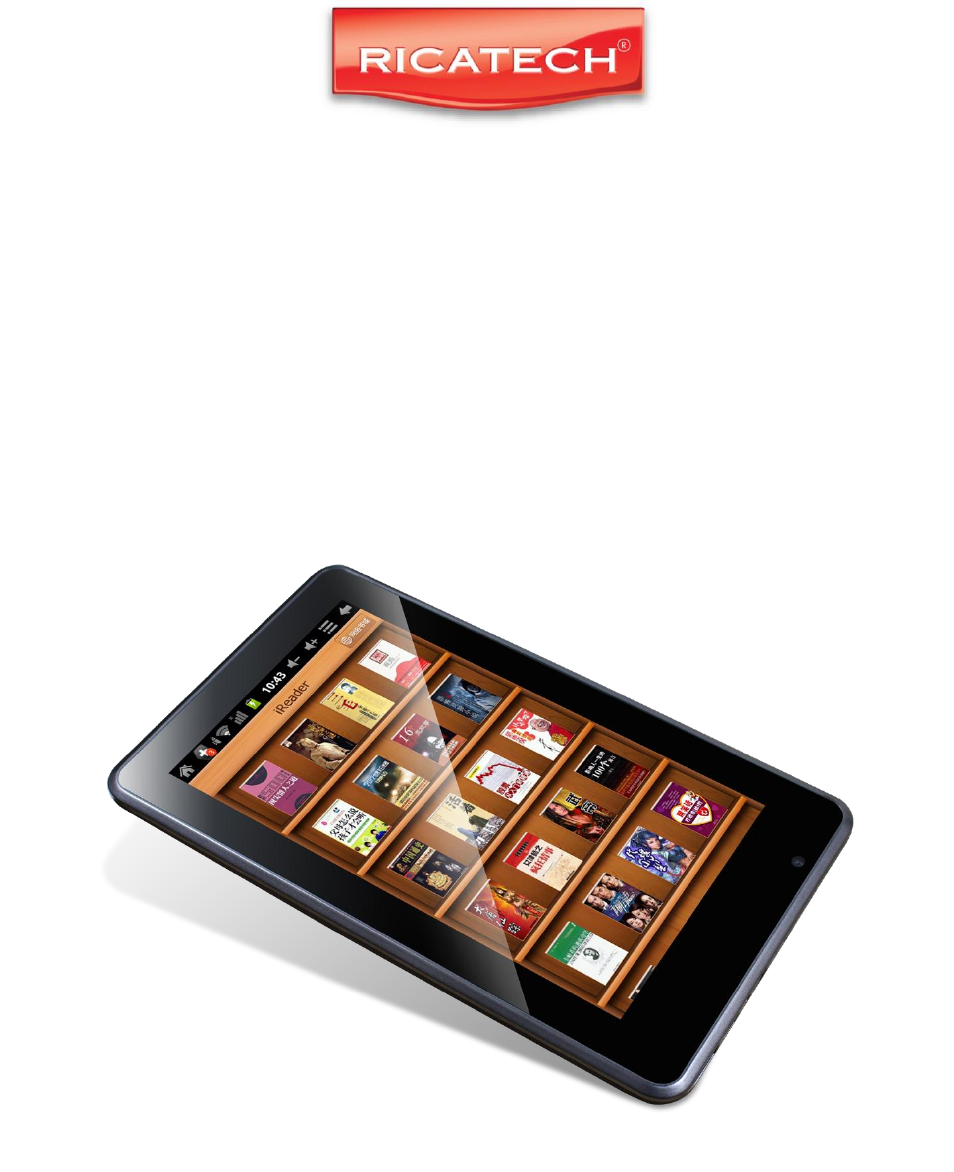
- TAB07 7" Tablet PC 1
- Content 3
- 1. Announcements 4
- 3. Quick Guides 6
- 4. Network Access 8
- Wireless & Networks 9
- 7. System Settings 16
- GEBRUIKERSHANDLEIDING 20
- 1. Mededelingen 22
- 2. Inleiding 23
- 3. Snelgidsen 24
- 4. Netwerktoegang 27
- 6. Inleiding Hoofdfuncties 29
- 7. Systeeminstellingen 35
- 8. Veelgestelde vragen 36
- MODE D'EMPLOI 39
- Contenu 40
- 1. Annonces 41
- 2. Introduction 42
- 4. Accès réseau 46
- 7. Paramètres système 54
Podsumowanie treści
TAB07 7" Tablet PC USER MANUAL GEBRUIKERSHANDLEIDING MODE D'EMPLOI
The left picture shows that device storage content could be viewed and modified from computer. The right picture means that device storage con
Button Instruction button Instruction Artist Album Song Playing Music list Random Play Loop playback Play the last song Play the next song
6.4 Record Function Click the record icon to enter the record interface, click record button to start recording, click this butt
Click icon to view bookmark and history record. Click menu icon to access settings. The device also supports other internet browse
Account: [email protected] Password: ********* For portal sites email accounts, directly input your email address and password, then cl
6.10 Calculator Click Calculator icon to enter calculator interface. 6.11 Alarm Clock Click Clock icon to enter time interface, then click
6.12.1 Install: Click Install, enter into the APK installer interface. Internal Memory means built-in Flash memory, SD card means inserted T-Flas
in case that some applications will arise problems. 7.9 Language & Keyboard Setting - In this setting, you can change the language of system, a
Restart the device by POWER button for 10 seconds, the device will restart. If you have restarted the device and error popup still exist, you
CUSTOMER SUPPORT You can contact the Ricatech customer service when you have a question or a problem with your Ricatech product.You can contact
1. Desktop 2. Power button 3. Menu button 4. Back button 5. Camera 6. TF Card 7. HDMI 8. Earpieces Jack 9. DC Socket 10. USB 11. USB Host Port
GEBRUIKERSHANDLEIDING 1. Desktop 2. Powerknop 3. Menuknop 4. Terugknop 5. Camera 6. TF-kaart 7. HDMI 8. Koptelefoonaansluiting 9. DC-aansluitin
Inhoud 1. Mededelingen ………………………………………………………………... 2. Inleiding ……………………………………………………………………... 2.1 Verpakkingsdetails……………………………………
1. Mededelingen ⑭. Gelieve het apparaat uit de buurt van vocht en stof te houden. ⑮. Leg het apparaat niet in een omgeving met hoge tempe
2. Inleiding 2.5 Verpakkingsdetails. Elke Tablet PC beschikt over de volgende items: Tablet PC-apparaat*1, lader*1, oordopjes*1, USB-ka
2.8 Technische specificaties Scherm 7 inch Capacitief Aanraakscherm. Vijf punten multi-aanraking Resolutie: 800 x 480. Beeldverhouding: 16 : 9 C
3.3 Energiebesparende standen en schermvergrendeling Houd de “POWER”-toets na het opstarten kort ingedrukt; systeem gaat naar de ene
Pictogram Functie-instructie Pictogram Functie-instructie Terug naar hoofdmenu Melding wanneer het systeem nieuwe apparaten vindt To
3.6.3 Externe 3G USB-dongel. (Zie de uitleg voor netwerktoegang in item 4) 3.7 TF-kaartopslag Er bevindt zich een TF-kaartsleuf in dit apparaat en
5. Opslag bestandskopie & Van PC wissen A) Sluit het apparaat met behulp van een USB-kabel op een computer aan. Er wordt geen med
6. Inleiding Hoofdfuncties 6.1 Audiofunctie Ga naar de muziekspeler: Dubbelklik in de muziekspelerstand op de favoriet in de lijst om muziek af te
Content 1. Announcements ……………………………………………………………… 2. Introduction …………………………………………………………………… 2.1 Packing Details………………………………………………………………………...
of meer muzieknummers in de muziekafspeellijst bevinden Dubbelklik op de favoriet in de lijst om muziek af te spelen. Klik in de interface vo
6.5 Bestandsmanager In bestandsmanager kunt u alle bestanden in het apparaat controleren, inclusief bestanden in het ingebouwde geheugen en op de
Klik op het menupictogram om naar instellingen te gaan. Het apparaat ondersteunt tevens andere internetbrowsers. Raadpleeg voor g
Vernieuwen: Op nieuwe e-mails controleren. Samenstellen: Nieuwe e-mails opstellen. Mappen: E-mails beheren in verschillende mappen. Accounts: Bekijk
volgende items kunnen worden ingesteld. Alarm in stille stand Alarmvolume Sluimerduur Volume en camera 6.12 APK Installer Dit appar
Zoeken: zoek naar software in de softwareshops. Annuleren: annuleer de bewerking. 6.12.3 Afsluiten: Gaat terug naar de hoofdinterface. Opmer
Opmerking: Hebt u een invoer geïnstalleerd en wilt u het gebruiken, vergeet deze dan niet in deze instelling in te schakelen (alle invoeren kunnen h
het apparaat zal herstarten. Als u het apparaat hebt herstart en er verschijnen nog steeds foutmeldingen, dan kunt u actieve applicaties control
KLANTENONDERSTEUNING Voor vragen en problemen kunt u contact opnemen met de klantenservice van Ricatech. U kunt telefonisch en via e-mail contact
MODE D'EMPLOI 1. Bureau 2. Bouton marche/arrêt 3. Bouton Menu 4. Bouton Retour 5. Appareil photo 6. Carte mémoire 7. HDMI 8. Prise pour écout
1. Announcements ①. Please keep the device away from moist and dust. ②. Do not put the device in high-temperature environment, especially closed
Contenu 1. Annonces…………………………………………………………………………… 2. Introduction ……………………………………………………………………….. 2.1 Contenu de l‟emballage………………………………………………………………………
1. Annonces 27. Tenez l‟appareil à l‟écart de l‟humidité et de la poussière. 28. Ne laissez en aucun cas l‟appareil dans un environnement soumis à
pendant 20 secondes lors du démarrage. 2. Introduction 2.9 Contenu de l’emballage. Chaque Tablette PC est équipée des éléments suivants : Tablett
L‟appareil peut être utilisé comme un disque dur portable USB ; aucun pilote n‟est requis avec WIN2000 et supérieur. 2.12 Spécifications techn
3.3 Modes d’économie d’énergie et verrouillage de l’écran Appuyez peu de temps sur la touche « POWER » après le démarrage - le système entre a
Icône Instruction des fonctions Icône Instruction des fonctions Retour au menu principal Remarque quand le système trouve de nouveaux
appuyez sur USB entrer dans l‟u-disk. 3.6.3 Clé USB 3G externe. (Voir les conseils d‟accès au réseau dans l‟élément 4) 3.7 Stockage de données sur
5. Copie des fichiers de stockage & Suppression du PC A) Connectez l‟appareil à l‟ordinateur via le câble USB, dans la barre d‟état, une notifi
6. Introduction aux fonctions principales 6.1 Fonction audio Entrer dans le lecteur de musique : Dans le mode lecteur de musique, double-cliquez su
faites glisser l'écran tactile vers le haut / vers le bas pour passer à la page haute / basse Double-cliquez sur le favori dans la liste po
2. Introduction 2.1 Packing Details. Each unit of Tablet PC has the following items: Tablet PC device*1, charger*1, earphone*1, USB cable*1, and u
6.5 Gestionnaire de fichiers Dans le gestionnaire de fichiers, vous pouvez vérifier tous les fichiers présents dans l‟appareil, y compris les fic
Cliquez sur l‟icône pour consulter les marques-pages et l‟historique. Cliquez sur l‟icône de menu pour accéder aux réglages. Le dis
Rafraîchir : Vérification de nouveaux e-mails. Composer : Rédiger de nouveaux e-mails. Dossiers : Gestion des e-mails dans différents dossiers. Com
Un appui long sur les anciennes alarmes pour choisir d‟activer / de désactiver l'alarme, de modifier l'alarme et de suppr
dans la liste des applications. 6.12.2 Gérer: Cliquez sur Gérer et entrez dans l‟interface du logiciel de la partie tierce. Démarrage : lancer
7.8 Réglage de stockage. - Dans ce type de réglages, vous pouvez vérifier l‟utilisation de l‟espace de stockage et monter ou supprimer des cartes mé
23) Il y a des Codes d’erreurs à l’écran. · Erreur système, redémarrez l‟appareil. . La langue que vous recherchez n‟est pas supportée par
SERVICE CLIENTS Vous pouvez contacter le service clients Ricatech si vous avez une question ou un problème avec votre produit Ricatech. Vous pouvez
2.4 Technical Specifications Screen 7 inch Capacitive Touch Screen. Five Points Multi-touch Resolution: 800 x 480. Aspect Ratio: 16 : 9 CPU Chip
3.3 Power Saving Modes and lock screen Press the “POWER” key shortly after starting up, system enter to power save and lock mode. Press the
Icon Function instruction Icon Function instruction Back to main menu Note when the system finds new devices Show current power statu
4.1 Network Access by Wi-Fi 4.1.1 Turn on Wi-Fi, and Press Wi-Fi settings. The device will scans automatically for available Wi-Fi networks. 4.
Więcej dokumentów dla Tablety Ricatech TAB07

Powiązane produkty i podręczniki dla Tablety Ricatech TAB07


 (79 strony)
© 2020, manymanuals.pl. Wszelkie prawa zastrzeżone. | 0.031 s |
 Manymanuals.com
 Manymanuals.de
 Manymanuals.fr
 Manymanuals.it
 Manymanuals.pl
 Manymanuals.cz
 Manymanuals.es
 Manymanuals-pt.com
Komentarze do niniejszej Instrukcji